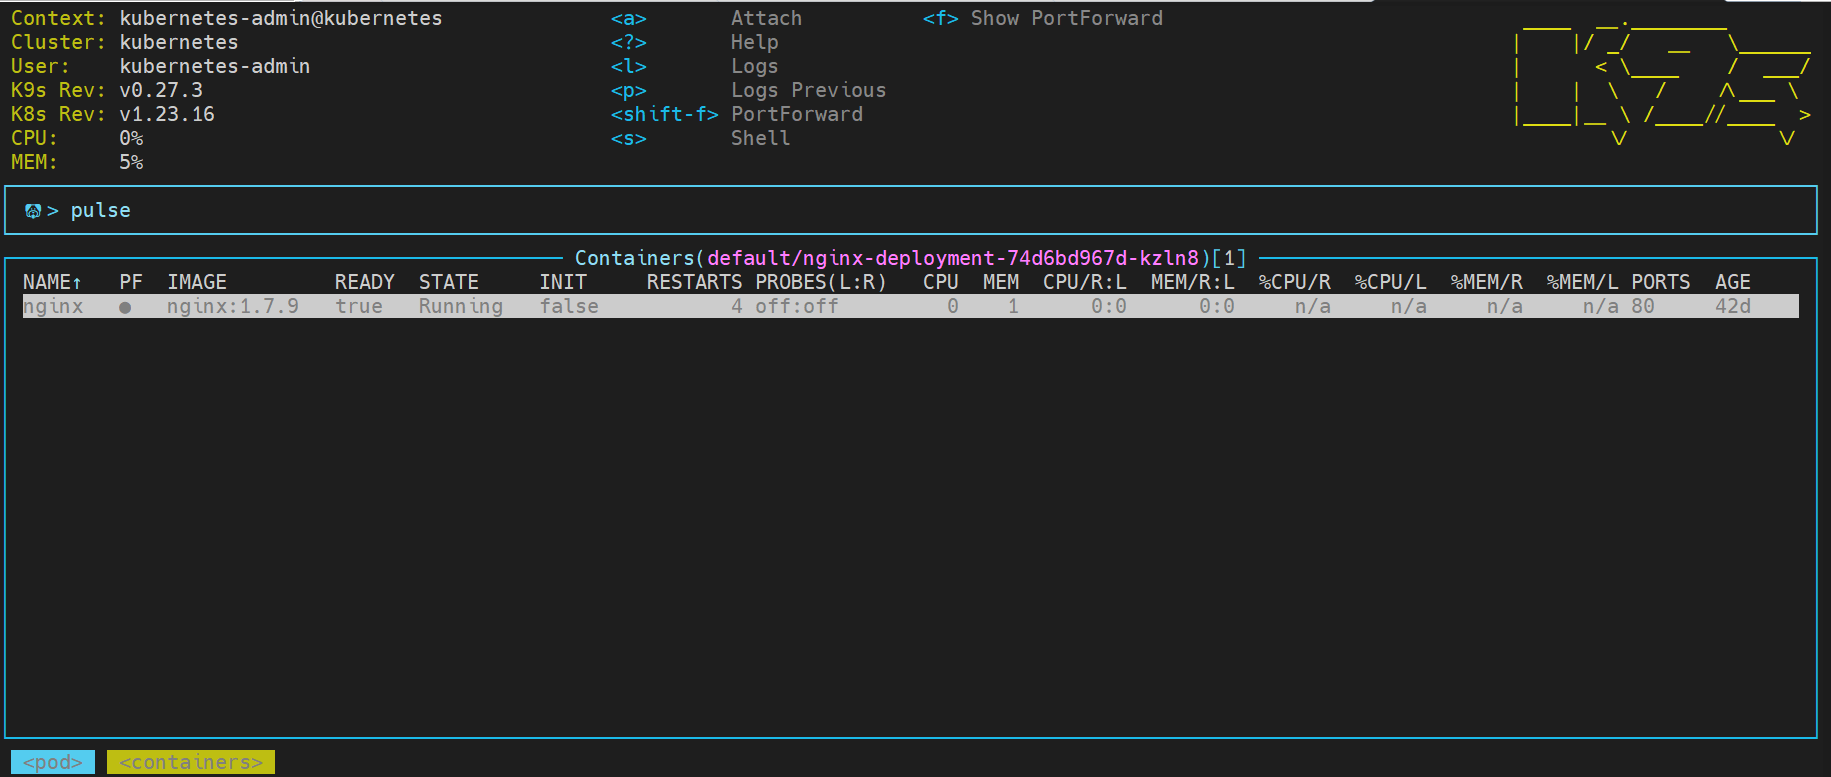
K9s (canine) is a command-line based UI utility (terminal + vim + K8s) to navigate, observe and manage your applications and monitoring Kubernetes clusters. It provides a visual interface that allows users to view and manage their Kubernetes resources, such as pods, deployments, and services, in a more intuitive and user-friendly way compared to using the “kubectl” command-line tool.
I have been using k9s in my 5g unity cloud Kubernetes cluster deployment, where group of microservices together perform a Cloud-Native Network Function (CNF) called federation. My encounter with Unity cloud inspired me to write a blog on K9s.
This blog assumes that you have running Kubernetes cluster. You can find the cluster deployment in my blog at bit.ly/3ZbG5QY . In production environment users are restricted to login directly on master node (ssh) , here we are deploying the K9s on a centos workstation.
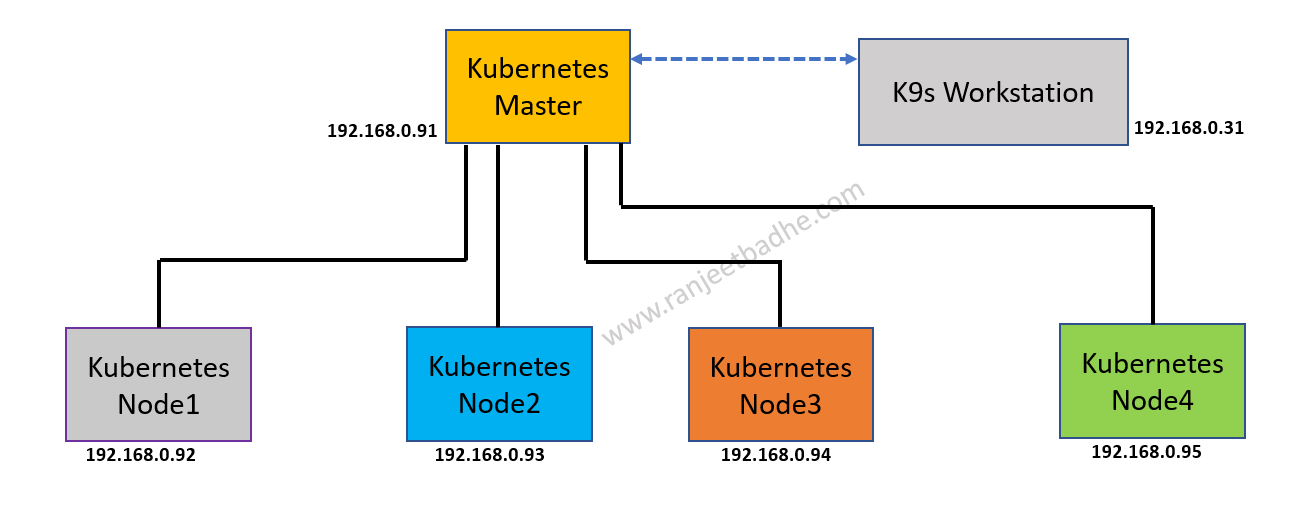
The following diagram depicts a Kubernetes cluster interfacing with a Centos linux workstation.
Lets start the installation. On Master Node copy the file config to the workstation client. I have done using SCP .This file is present in .kube folder.
[root@kubemaster ~]# cd .kube/
[root@kubemaster .kube]# ls
[root@kubemaster .kube]# scp config root@192.168.0.31:
The authenticity of host '192.168.0.31 (192.168.0.31)' can't be established.
ECDSA key fingerprint is SHA256:dtOIGmPMoNAVEM9UADvCzi68w8ugQpsqzI9rFgRDKNY.
ECDSA key fingerprint is MD5:9e:9b:da:d4:69:ea:bf:36:db:5a:a6:10:9b:63:8b:75.
Are you sure you want to continue connecting (yes/no)? yes
Warning: Permanently added '192.168.0.31' (ECDSA) to the list of known hosts.
root@192.168.0.31's password:
config
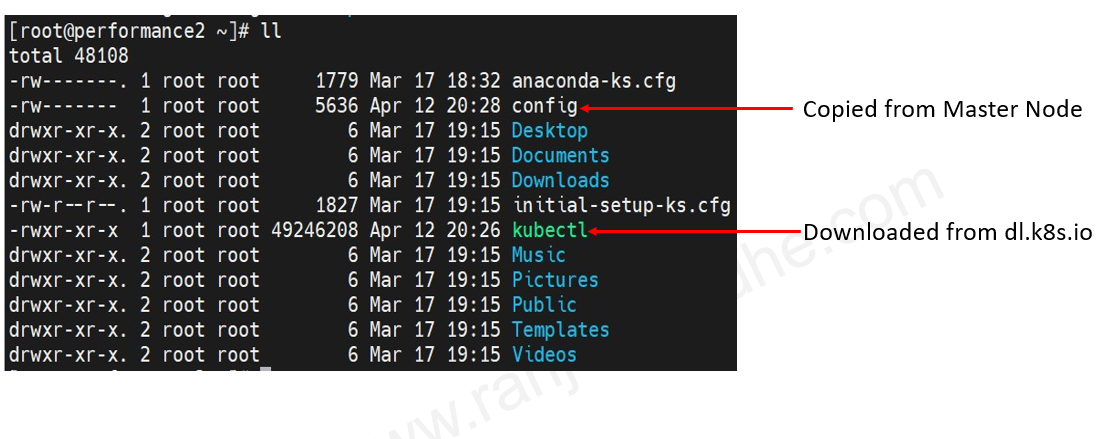
Download the kubectl from k8s.io

Change the permission of kubectl to X , create .kube folder and copy the config and kubectl files into that folder
[root@performance2 ~]# chmod +x kubectl
[root@performance2 ~]# ls -ltr
[root@performance2 ~]# mkdir .kube
[root@performance2 .kube]# ls
[root@performance2 .kube]# cp ~/kubectl .
[root@performance2 .kube]# cp ~/config .
[root@performance2 .kube]# ll
total 48100
-rw------- 1 root root 5636 Apr 12 20:50 config
-rwxr-xr-x 1 root root 49246208 Apr 12 20:50 kubectl
[root@performance2 .kube]# cp kubectl /usr/local/bin/
[root@performance2 .kube]# kubectl get nodes

Lets deploy the k9s package now.
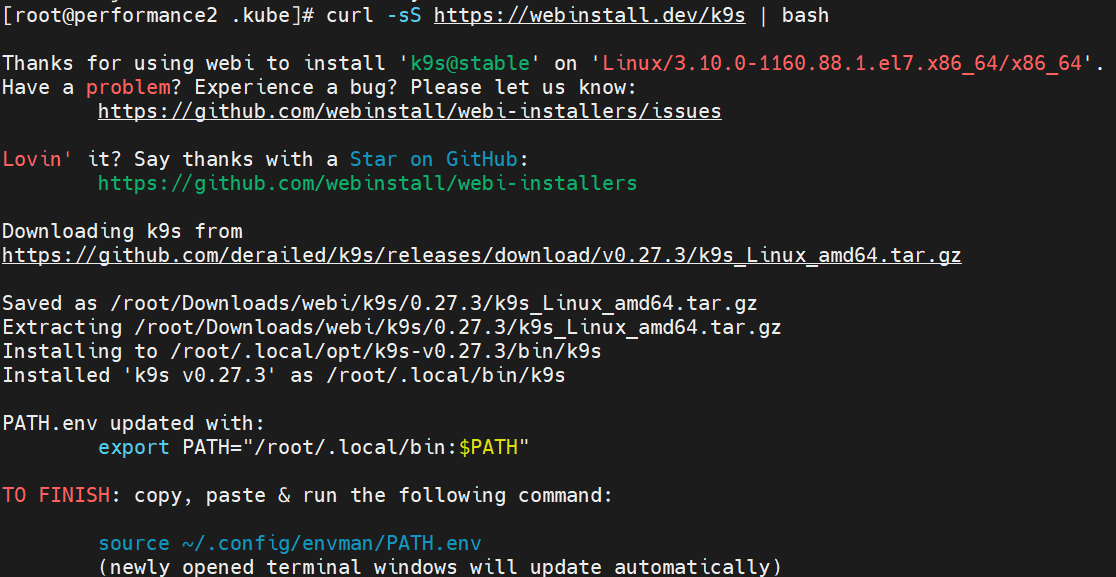
I chose webinstall.dev as source to get the package because it is most convenient and universal way, as it installs cross-platform tools, from official builds quickly, without sudo or Admin privileges , without a package manager and without changing even system file permissions.
Run the below command to install K9s by downloading the webi script and piping it to Bash.

[root@performance2 .kube]# ls /root/.local/bin/k9s
/root/.local/bin/k9s
[root@performance2 .kube]# export PATH="/root/.local/bin:$PATH"
[root@performance2 .kube]# source ~/.config/envman/PATH.env
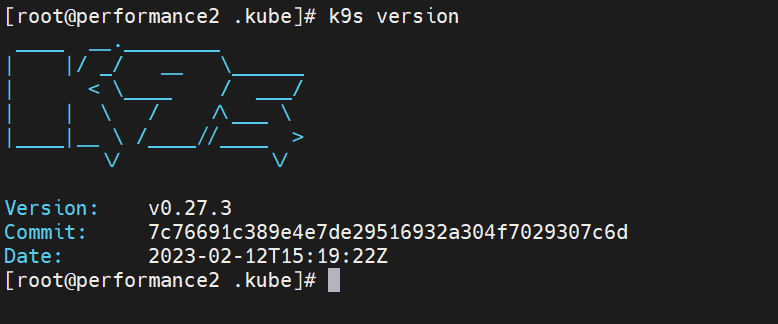
[root@performance2 .kube]# k9s version
[root@performance2 .kube]# k9s
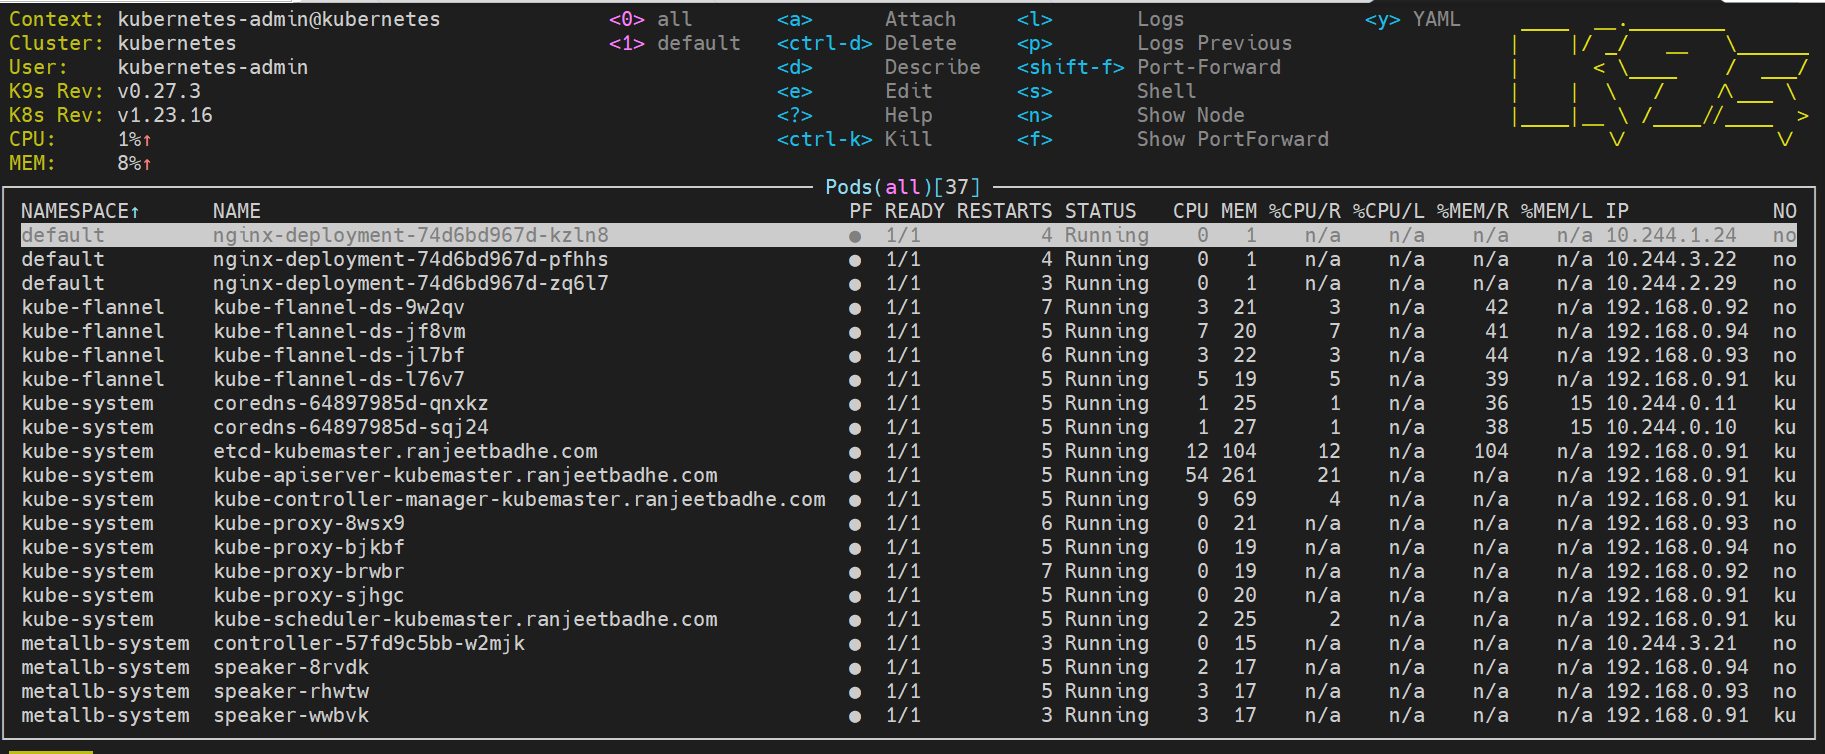
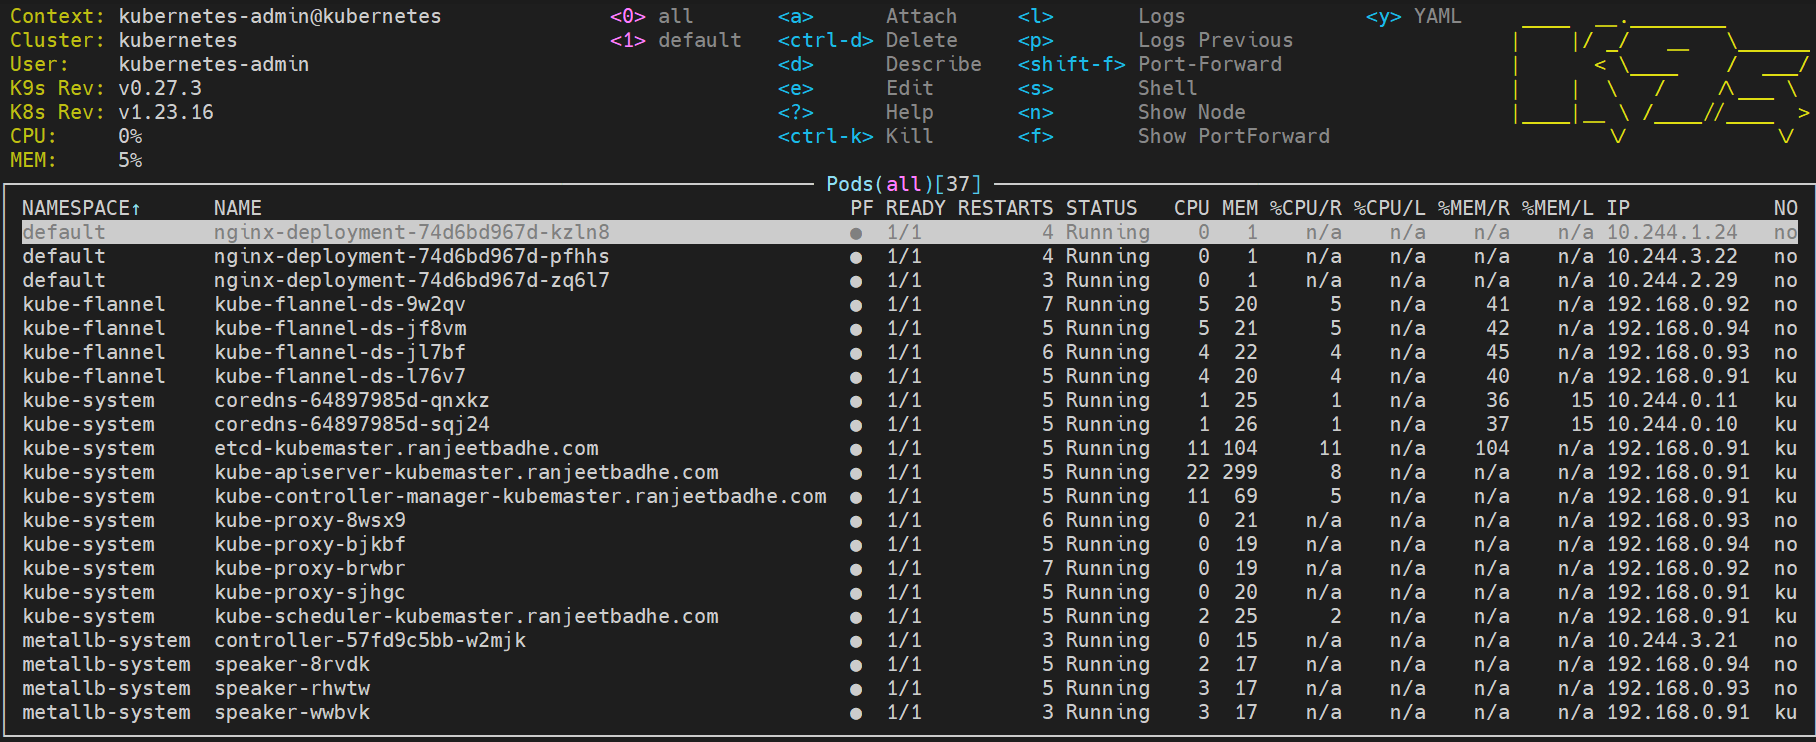
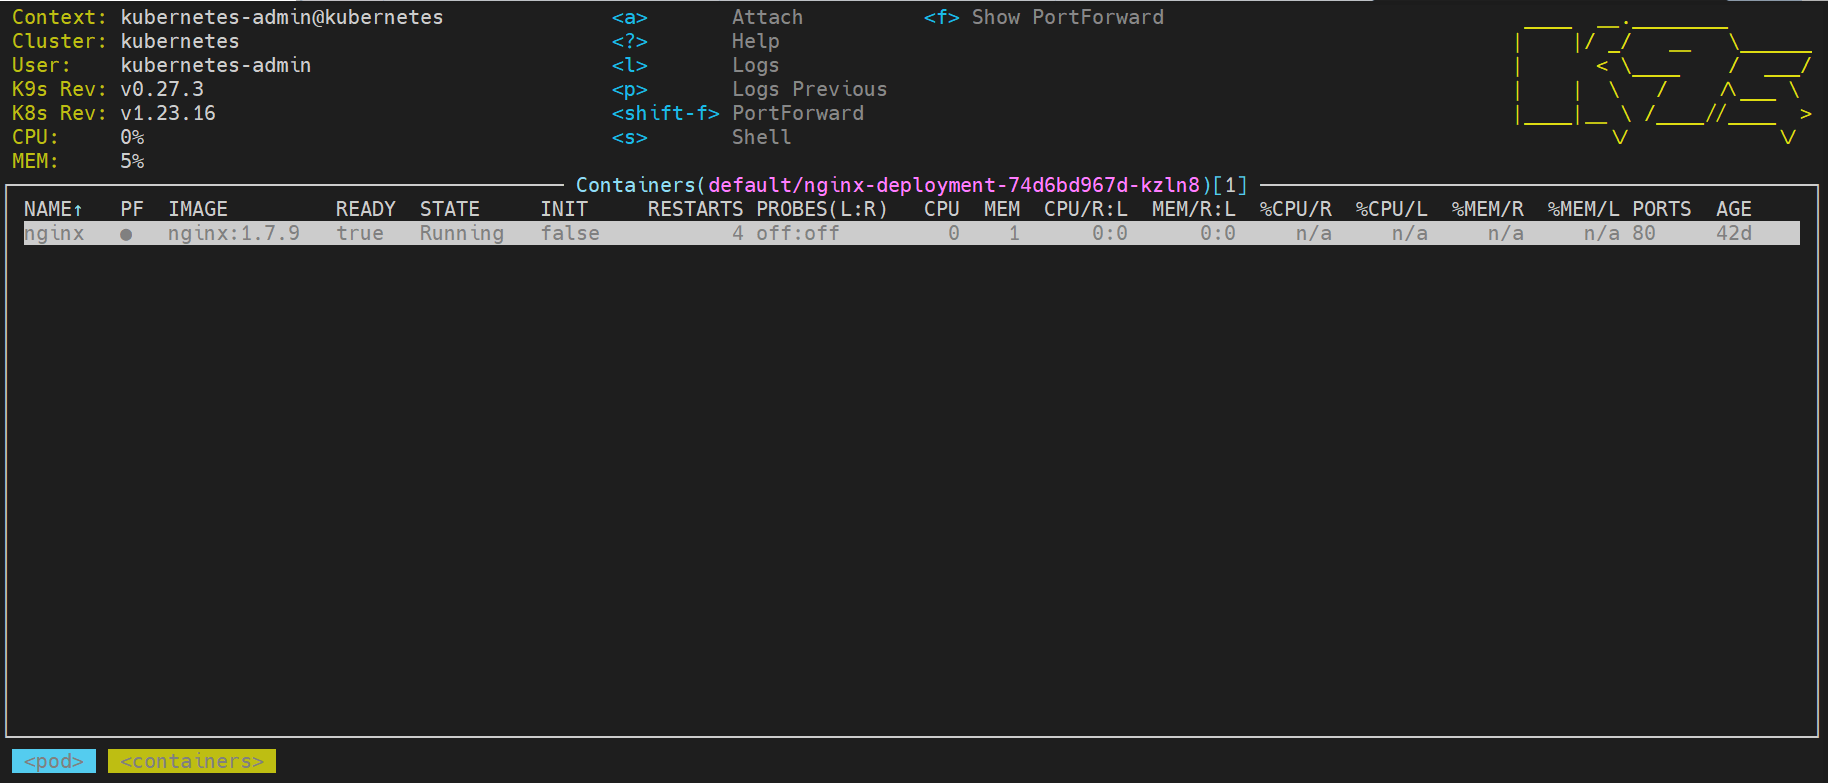
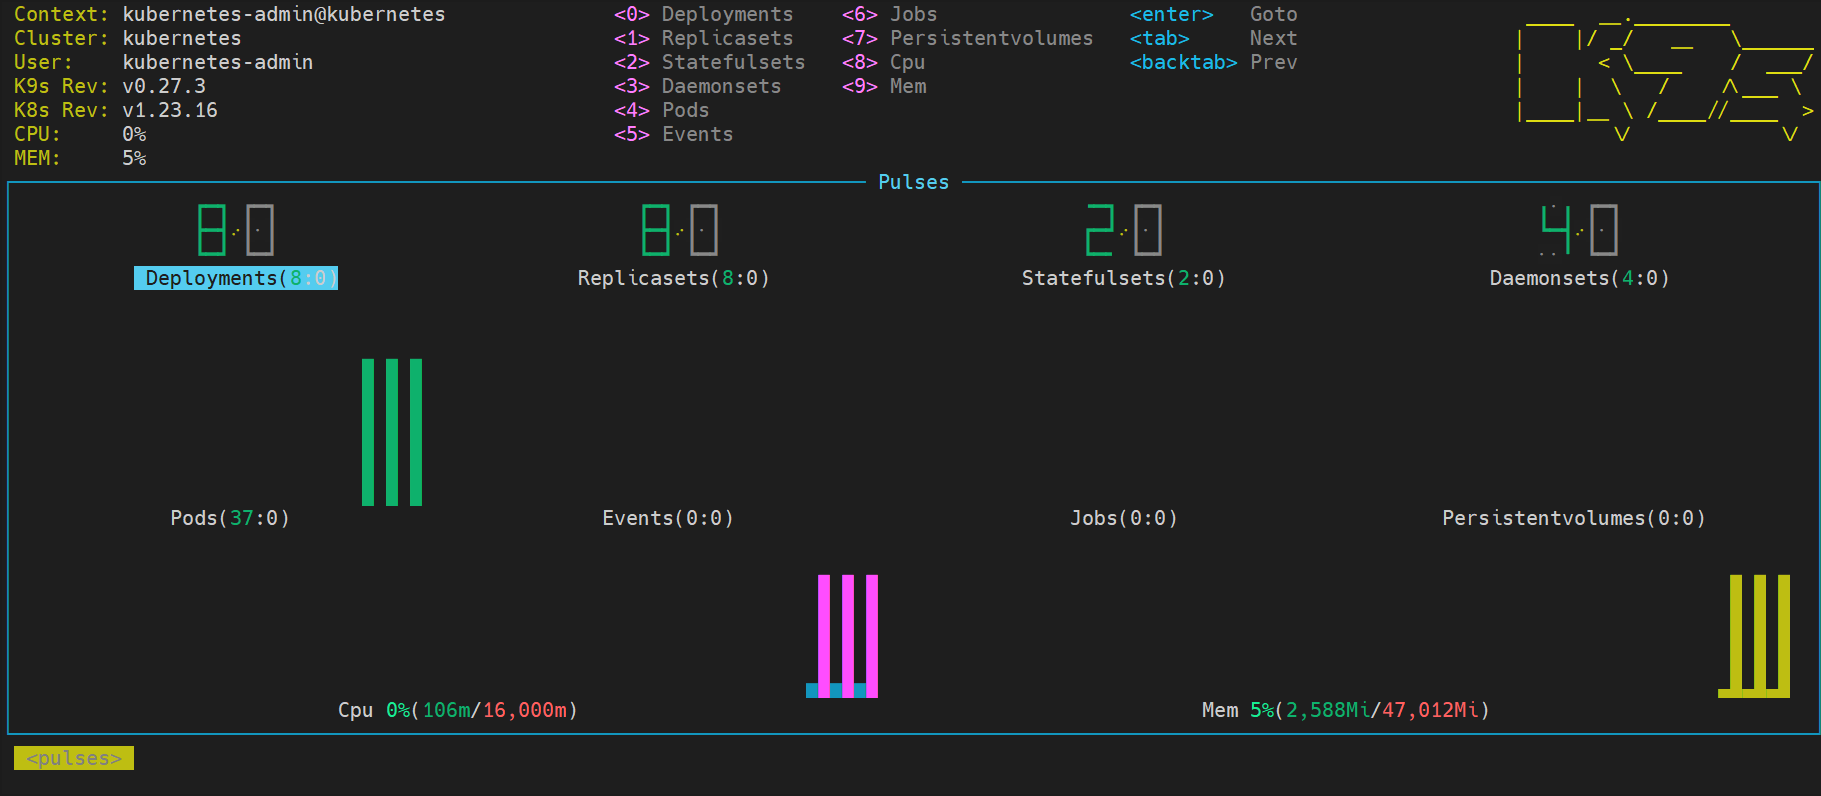
Focus on nginx deployment and Type the:pulses command and press Enter to activate the Pulses view.
